I made a new tutorial called Flowers vase. In this tutorial we will learn how to design an abstract and slighty vase with abstract flowers and leafs. I love doing abstract things, disorted and “unsymmetrically”.
This is the result image:
Let`s do it!
Step 1:
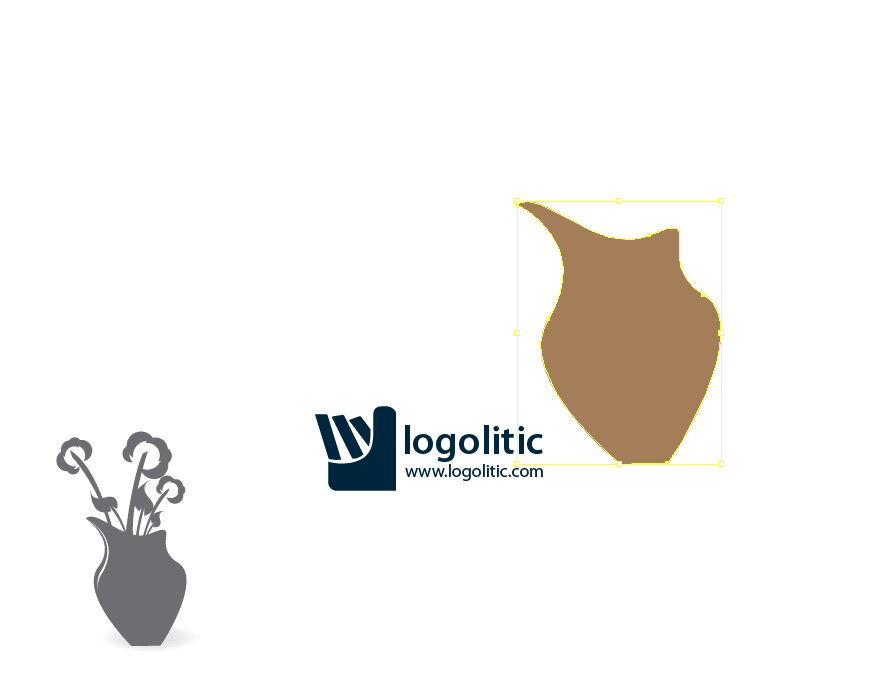
First thing you have to do is to select the PenTool and make an abstract shape, what comes into your mind! Let your imagination flow and you will get a very nice and abstract vase. Colour it with any brown you want.
Step 2:
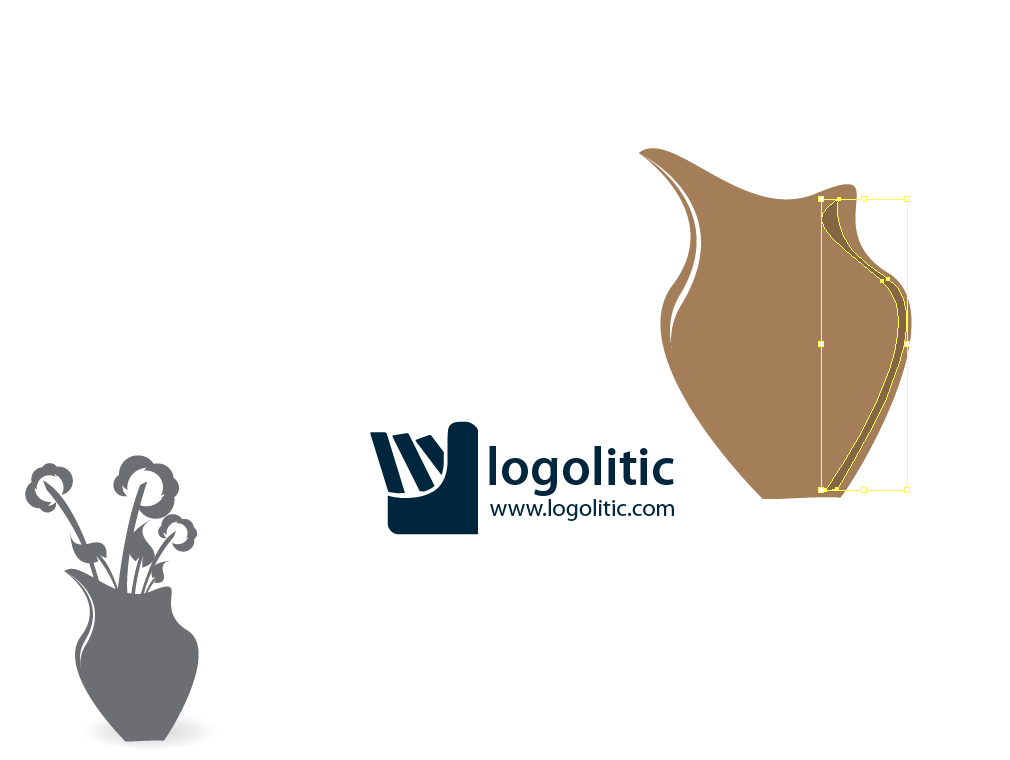
Using the same tool (pen tool) draw a line similar with the vase shape, just a little distanced at the upper side. Then fill it with the same brown as the vase. You can also do this in another way, just draw an white line at the upper side of the vase, this will be the light coming from left.
Step 3:
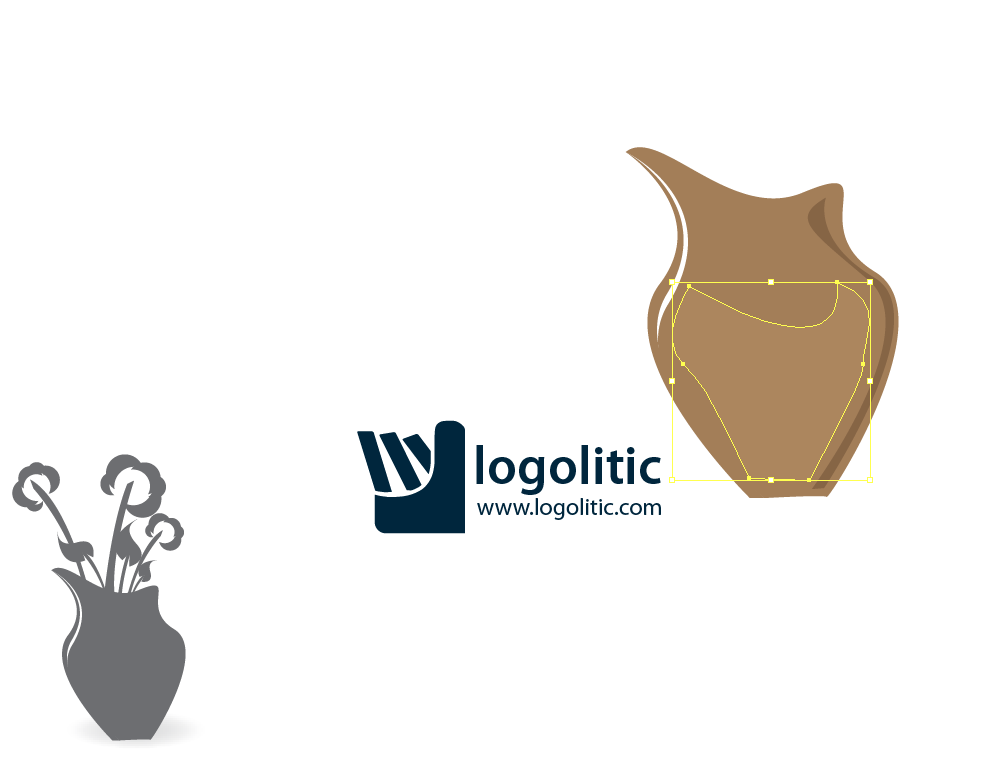
Now we will do something aproximately similar with the Step2, just this time will be on the whole right side. Made it abstract, shaked, fill it with a darker brown and reduce the opacity until you get something similar to mine, something that looks like a shadow.
Step 4:
Now we will make the center side of the vase, to look more realistic, to give it the abstract “3D” effect. Do a shape randomly that fits with the center of the vase. Remember, it don`t need to be perfect, just abstract!
Step 5:
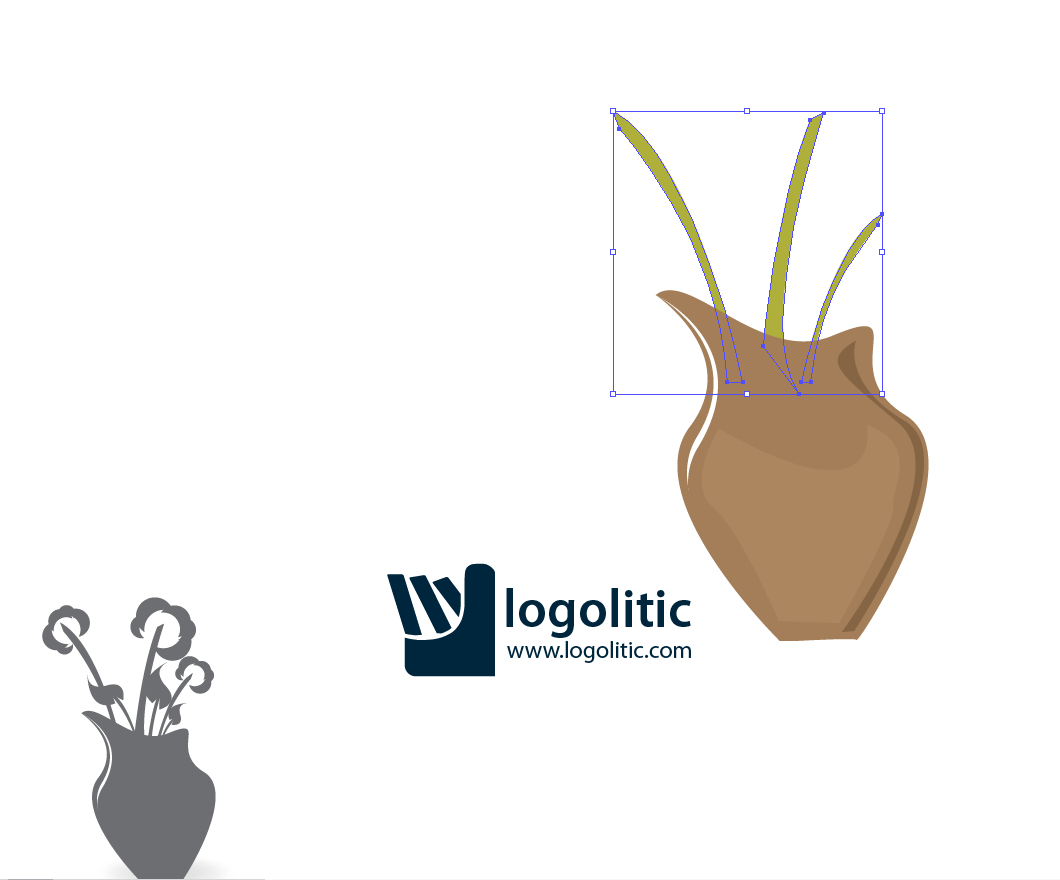
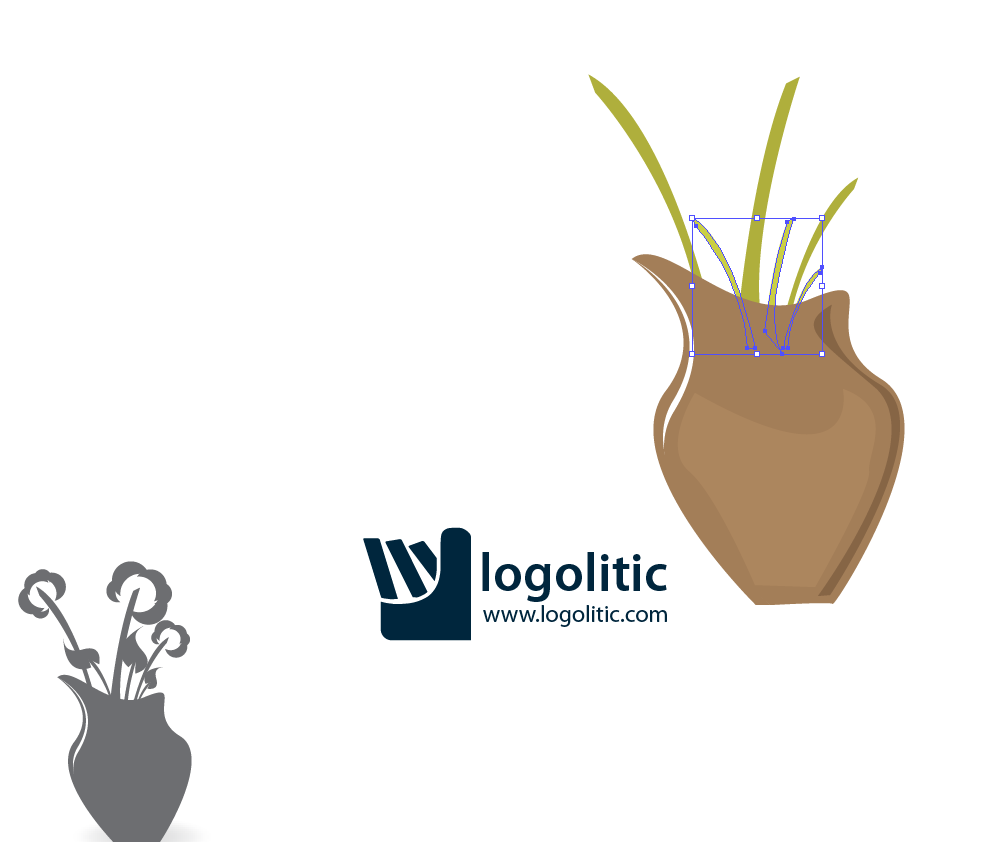
In this step we will draw the flower tails. Draw, using Pen Tool, a tail similar to the left one. Then duplicate it, make it smaller and move it to right. The center one you will make a bit different, to look like is in front of the others and bent to the center.
Step 6:
Now duplicate the 3 tails made in Step 5, make them smaller, move them to the right and fill them with a lighter green.
Step 7:
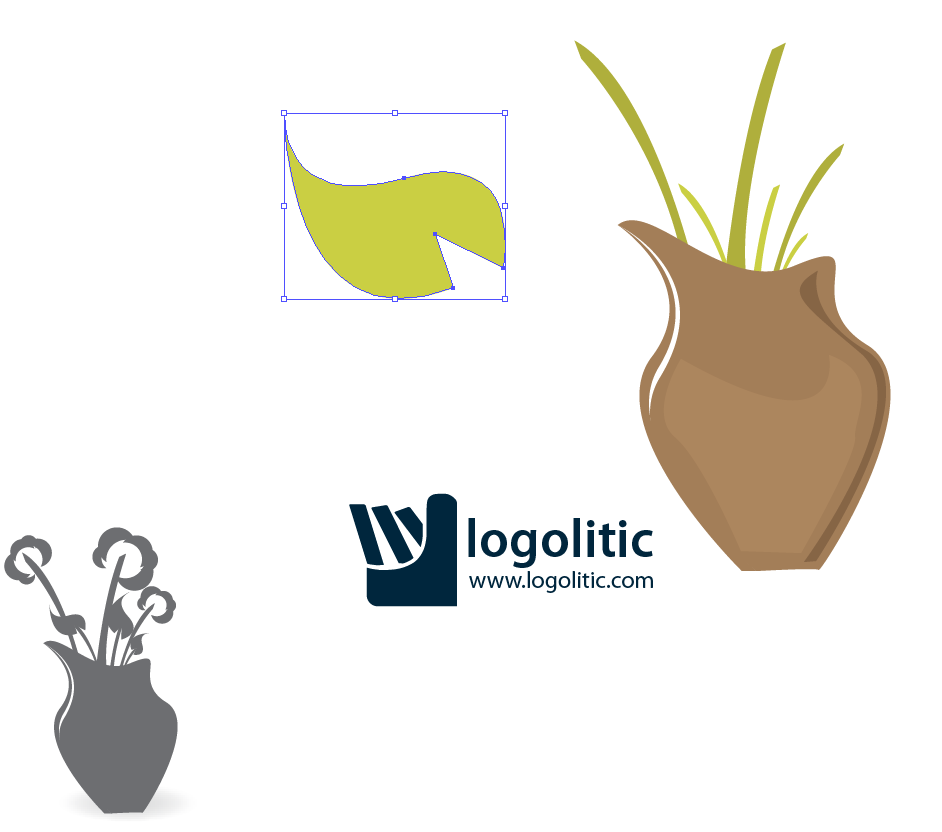
In this step we will draw the leaf. Draw it using Pen Tool, in this way you will improve your skills in drawing with Pen Tool. If you are a beginner and you can`t use too well pen tool, just find a leaf image and “copy” the leaf using PenTool.
Step 8:
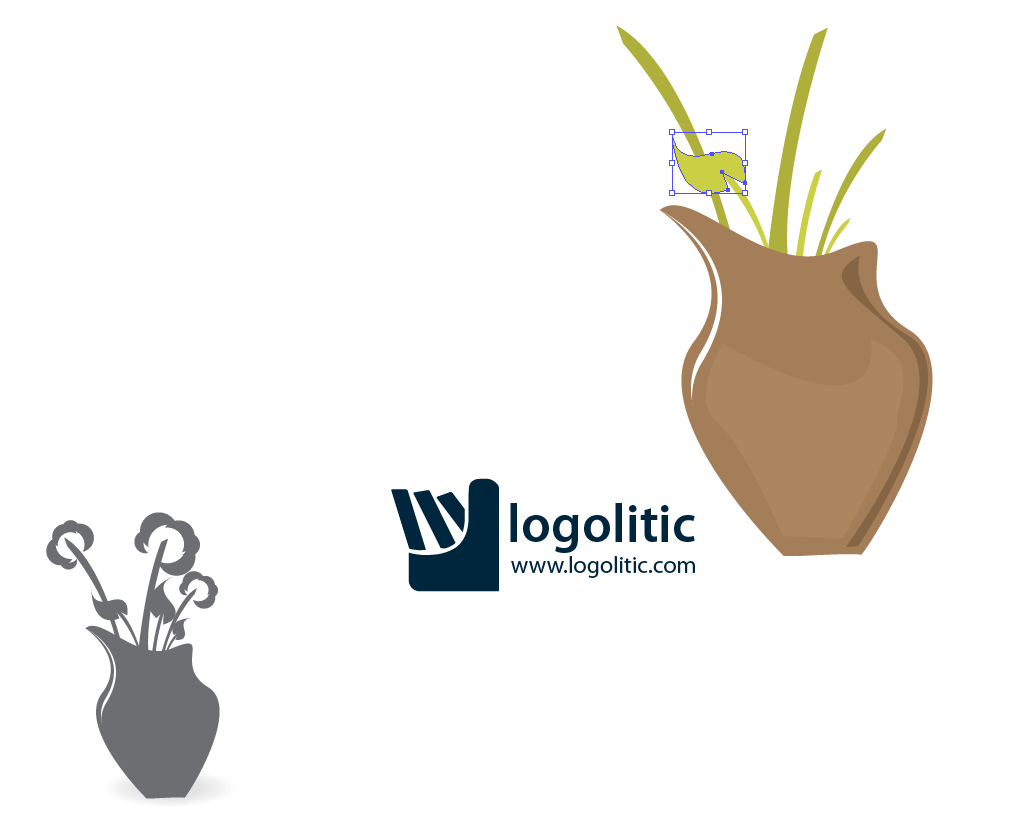
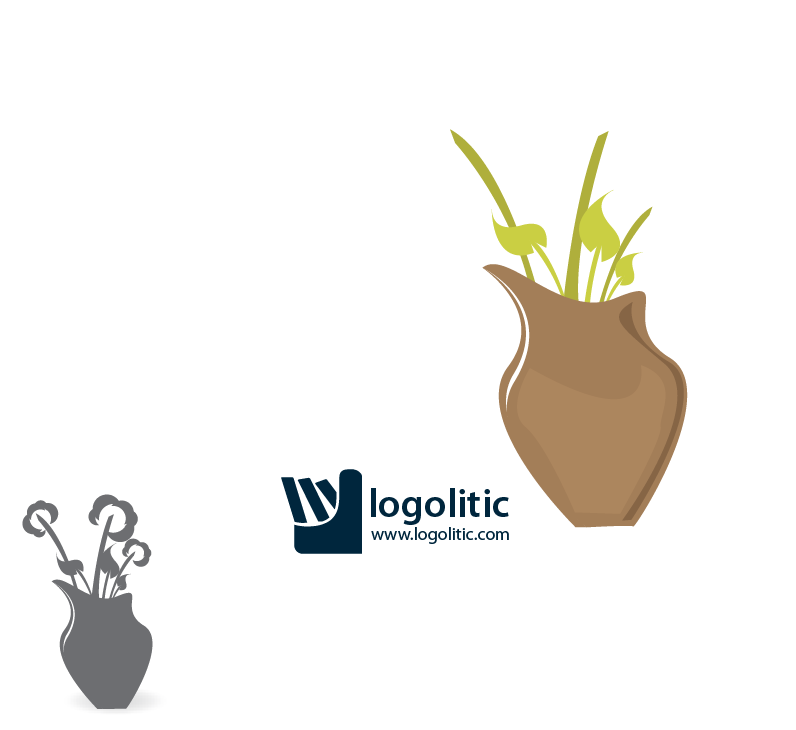
Now, position the leafs at the end of each tail ( the small ones) as I did in the next images:
Step 9:
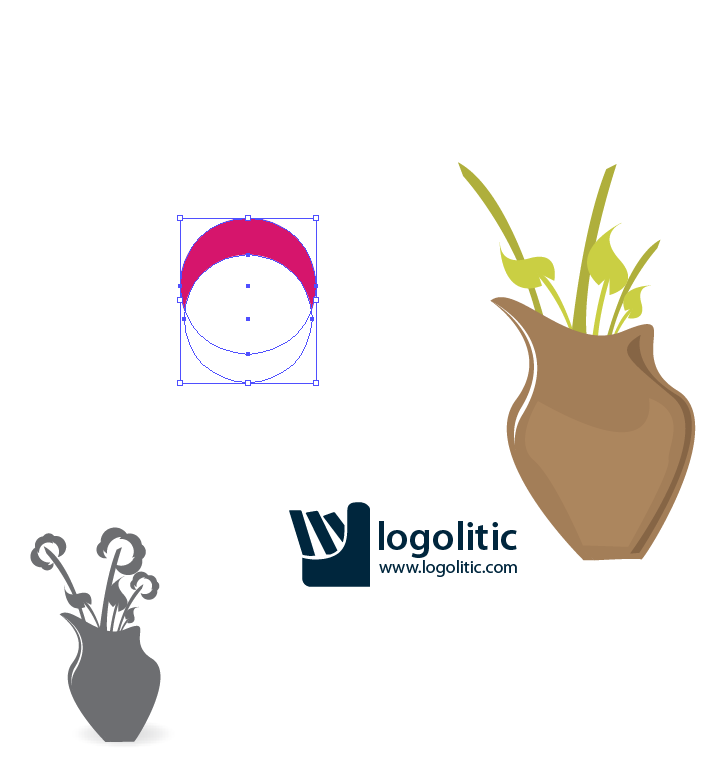
On the bigger tails we will put the flowers. To draw the flowers we will start by making a circle, duplicating it, making it smaller and over the big one like in the next image. Then select both circles and use Trim function from your Pathfinder window. If you don`t have the Pathfinder window you can insert it from your Window tab in your AI menu.
Step 10:
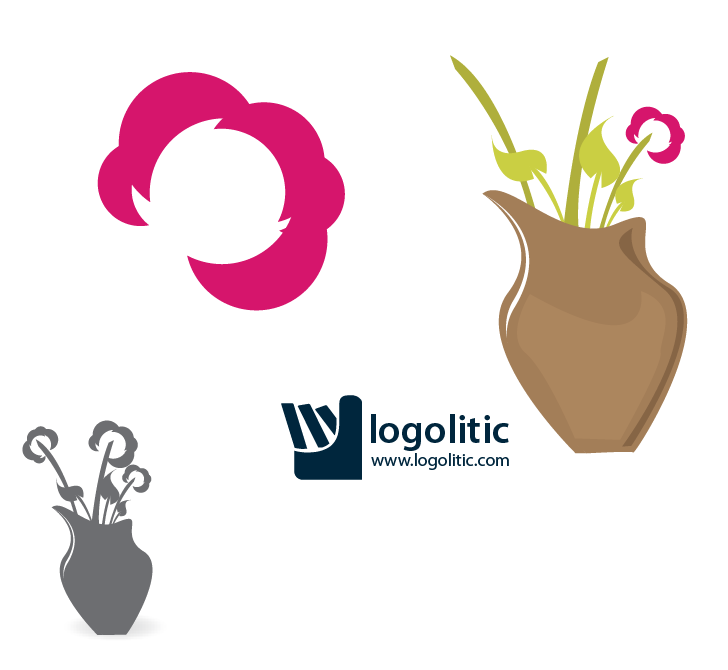
Duplicate the circle resulted from Trim, some of them smaller than the others. It should result something like that:
Step 11:
In the final step, duplicate and position the flowers at the end of each big tail. Then make a circle, fill it with black and go to Effect->Stylize->Feather and check the preview box. Select what number you want, I made it 15. This is the result image:
DOWNLOAD THE FILE SOURCE:

Waiting for your comments regarding this tutorial.
 Logolitic design blog



Very useful tutorial! Using it I created a flowers vase logo in 20 minutes Cheers